Tutorial
Silver Clay Tips
Mar, 27 2025
How to make silver clay pendants? ✨ 3 easy method
Let’s Make Some Gorgeous Silver Clay Pendants Together! ✨ This blog covers:
- 3 Fun Methods to Shape Your Pendant
- Creating Connection Points for Your Charms
- Let’s Talk About Firing
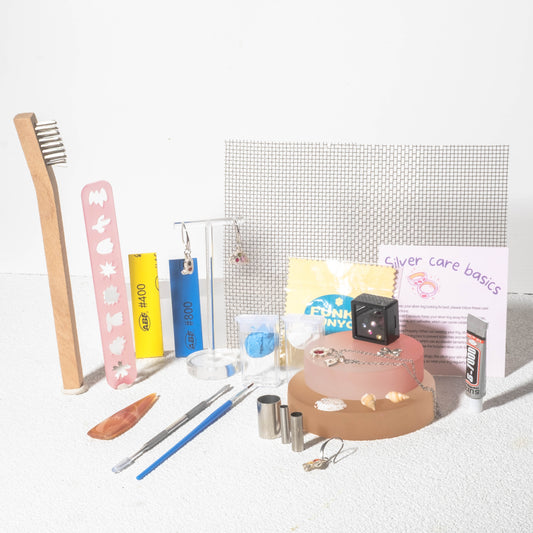
📌 Before You Kick Start — Read This First! 🛠 Check What You’ll Need in this product listing
A few super helpful (and slightly nerdy) tips before you dive in:
Make sure your piece is completely dry before firing.
Firing damp clay can cause cracks or even breakage — so let it dry all the way through (air dry or use a mini oven if you're impatient like me 😆).Keep your silver clay fresh!
Wrap it tightly in plastic film when you're not using it. Silver clay dries out fast, and we want it soft and ready for your next spark of inspiration!Silver clay shrinks 6–10% during firing.
If you're making a ring, go one or two sizes up from your usual size to compensate for shrinkage. Nobody likes a ring that won’t budge. 😬Don't go too thin — especially at the connector part!
After firing, silver clay becomes fine silver (999 silver) — which is beautiful but softer than sterling silver. Thicker designs = stronger pieces. Be extra mindful when shaping loops or bails for necklaces or earrings.Avoid the flame’s center when firing small pieces.
The center of the flame gets super hot and might melt delicate charms. Stick to the side and watch carefully, slowly move it to the center. A little patience goes a long way!
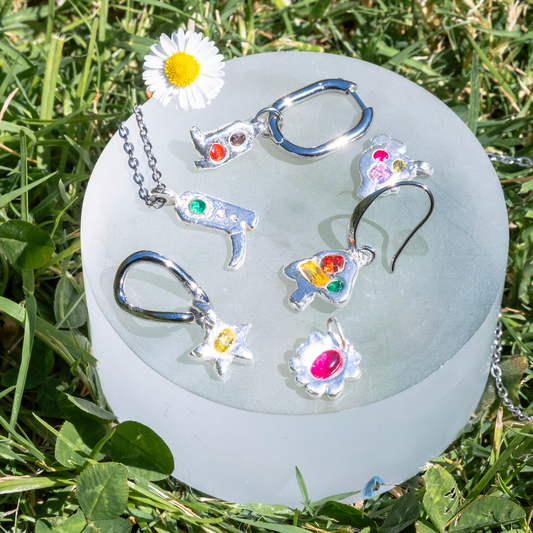
DAZZLING DIY SILVER PENDANT KIT
🎬 Watch Tutorial videos on Youtube
✨ 3 Fun Methods to Shape Your Pendant
1⃣️Silicone Cast Method
Mix the two silicone patties together
Press your chosen object (like a tiny leaf or charm) into the mixture
Wait 10–20 minutes for it to cure
Use it as a mould for your clay pendant
We cover this exact method in our YouTube tutorial 👇👉, or a short video link here.


2⃣️Acrylic Stencils Method
Choose a stencil design from the kit
Gently press your clay into the stencil — and press your gemstone in at the same time!
Great for bold, gemmed designs that look super polished ✨
We cover this exact method in our YouTube tutorial 👇👉 — so if you're a visual learner, be sure to check it out! 🎥


3⃣️Silicone Mould Method
Perfect for personalising your piece with initials, names, or sweet little words.
Press the clay into the mould (no need to overfill!)
Let it air dry or pop it in the oven for a quicker result
Gently remove once dry — and here’s a fun tip: you can use soft silver clay to join the letters together like a little name tag chain! So cute and totally custom 💕


🔗 Creating Connection Points for Your Charms
1⃣️Vertical Bail

2⃣️Horizontal Loop

3⃣️Drill a Hole

Let's Talk About Firing (AKA The Scary-But-Actually-Not-Scary Part)
No kiln? No worries! You can totally do this at home with a gas stove:
Here’s how:
Dry your piece completely before firing
Use a mesh or metal firing tray over the flame
Start from low heat — don’t blast it in the center of the flame directly,
Fire for at least 25 minutes to fully sinter
If it starts glowing orange to red, it’s getting too hot! Move it to a cooler area
🎯 Be patient — slow and steady heat wins the silver race.


💖
I hope this inspires you to try something new and get your hands messy (in a good way)! Silver clay is truly magical — and you’ll feel so proud wearing something you made with your own hands. 💍 Tag us in your creations — I’d LOVE to see what you make! 📸 @funkyfunyou
Until next time,
Amy


